Getting creative with your projector placement will really provide a lot of flexibility when putting together decoration displays. Every projector is different, as well as every decorating space, so it's important to experiment with both to find the best results. Consider factors like the size of the area you’re hoping to cover, the brightness of your projector, and the projector placement options you have for your space. (In fact, you can read a great blogpost on these issues here.)
Throw Distance and Throw Ratio
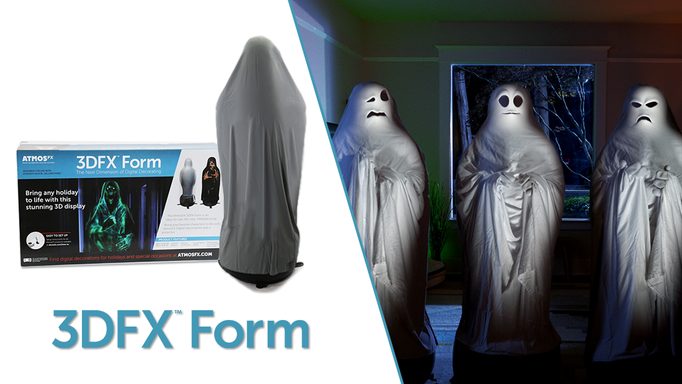
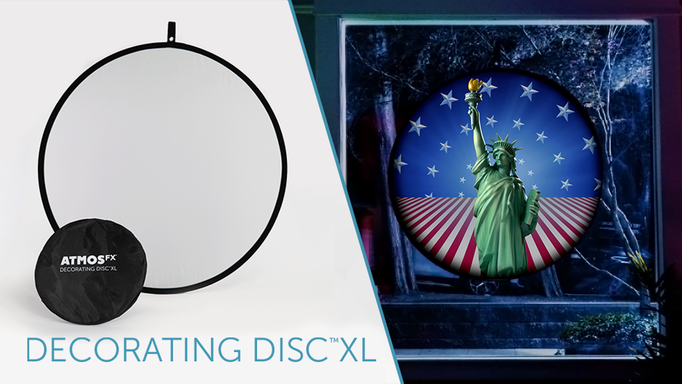
The first and maybe the most important feature to look for when setting up your decorations is the “throw distance” and “throw ratio” of your projector. Simply put, these measurements tell you how close the projector needs to be to your window, wall, Hollusion Projection Material, 3DFX Form or Decorating Disc XL in order to create a clear image.
Naturally, moving the projector away from your surface will create a bigger image. Projectors are usually categorized as being either “short throw” or “long throw,” meaning they have a short range or a long range. Most decorators prefer short-throw projectors when setting up AtmosFX Decorations because the projector can be placed closer to the projection surface.

“Throw distance” describes the possible range of distance between your projector and surface. A projector’s throw can also be measured using a “throw ratio,” which describes how much a projector will magnify your video image at a specific distance. The smaller the throw ratio number, the larger an image the projector will produce at a short distance.
Throw ratio will help you determine how big your decoration can be in the amount of space you have available for your projector. To serve as an example, our AtmosFX projector kits include the ViewSonic M1+ which has the following throw specifications:
- Throw Ratio: 1.2:1 (1.2 feet from screen creates an image 1 foot wide)
- Range of distance: 28.8 inches (closest) to 120 inches (farthest)
- Projection Size Width: 24 inches (smallest) to 100 inches wide (largest)
Using the Throw Ratio information, it’s easy to calculate how large your projection size will be depending on the placement of your projector. For example, here is a table which shows how wide your projected image will be with a 1.2:1 throw ratio, based on the distance between your projector and the projection surface.
|
Projection Distance |
Projected Image Width |
Projected Image Height |
|
2.4 Feet of Distance |
2.0 Feet Wide |
1.125 Feet High |
|
4 Feet of Distance |
3.333 Feet Wide |
1.875 Feet High |
|
7.2 Feet of Distance |
6.0 Feet Wide |
3.375 Feet High |
|
8.5 Feet of Distance |
7.0 Feet Wide |
3.9 Feet High |
|
10 Feet of Distance |
8.4 Feet Wide |
4.7 Feet High |
Hiding Your Projector
Digital decorating works best as an illusion. If your audience can see the projector, the magic of the effect may be diminished. That’s why many decorators use props to block their projectors from view. Using props works best for front-projection but, if you’re creating a rear-projection display — like a Window Mode decoration viewed from the outside — you still have to consider whether your projector can be seen by your audience.
When you’re first setting up, it can be helpful to point your projector directly at a surface from a perpendicular angle. However, there are lots of instances when moving your projector into a different position can improve your results.
A common issue caused by projector placement is a “hot spot.” That means that while viewing your display, your audience is looking directly into the lens of your projector, creating a very bright spot in your image. To eliminate hot spots, try positioning your projector lower to the ground and angling the projector upwards towards the window.

You can also raise the height of the projector, either by using a ceiling mount or by placing the projector on a high shelf, then angling the beam downwards.
Keystone Correction
Now that you have adjusted the angle of your projector, you may notice some out-of-focus distortion in the top and bottom of your image. Fortunately, most projectors allow you to modify the angle of the projected image using a feature called “keystone correction.”
There are two types of keystone correction, manual and digital.
Manual Keystone Correction
Some projectors have a manual keystone control dial attached to an internal lens. Projectors with a manual keystone dial can only adjust on one axis, usually horizontal. That means that if you need to raise up or lower down your projector to project at an angle, you can use the keystone to keep your image in focus.
If you are using a projector in the vertical orientation, then the keystone will now let you move the projector from an angle left-to-right while maintaining an in-focus image.

Digital Keystone Correction
Many premium projectors, like the ViewSonic M1+ found in the AtmosFX projector kits, may also offer automatic digital keystone correction. An automatic keystone uses sensors to test your projected image and then automatically correct the projection shape to be perfectly rectangular. Because the projector is using computational power to create this new custom shape, it requires advanced hardware to accomplish. The ViewSonic M1+ and M1 Mini Plus offer horizontal keystone correction only, but some premium projectors may have both horizontal and vertical keystone control, allowing for even more options when placing your projector.
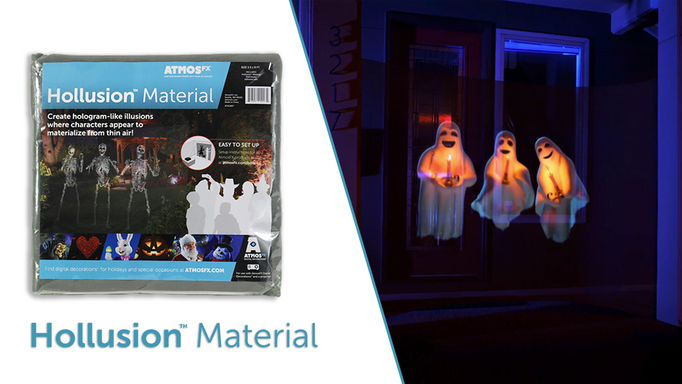
The Hollusion Projection Material ‘Double Image’
Hollusion Projection Material is a mesh fabric designed to let some light pass through from both directions while still catching the projected image. This is the trick that allows our Hollusion Mode decorations to appear to be floating in thin air. The projector reflects light off of the mesh, but the viewer can still see through to the other side.
Because of this, it’s important to consider where your projector is aimed and how it is angled. If there are any surfaces on the opposite side of your material from the projector, you may get a double image effect: the first on the Hollusion Projection Material and the double appearing on the background.
If you are getting a double-image, try repositioning your projector at a lower angle, facing upwards towards your material. This will direct the double-image up into the air and out of view of your audience.
Also, if you’re decorating a window with Hollusion Projection Material, make sure it's not pointing directly into a neighbor's window, as they will experience unwanted light shining into their home — or even unexpected frights!
Positioning your projector is one of the keys to making great displays with AtmosFX Decorations. If you’ve come up with a clever way to hide your projector (such as inside a prop) or found ways to create cool effects with positioning, we’d love to see them! Send your videos and photos to us using this simple online submission form!