Who isn’t looking for that one Christmas decoration that brings joy to all encounter it? We all do! Now, add a few gasps and questions of “How’d they do that?!” Perfect.
This DIY holiday snow globe checks all the boxes – simple to create, inexpensive and extremely versatile. Moreover, no matter where you place it, it is sure to draw a crowd – and evoke plenty of oohs and aahs, too. That’s because this dynamic snow globe just begs to have any number of Christmas-themed AtmosFX Decorations projected directly onto it.

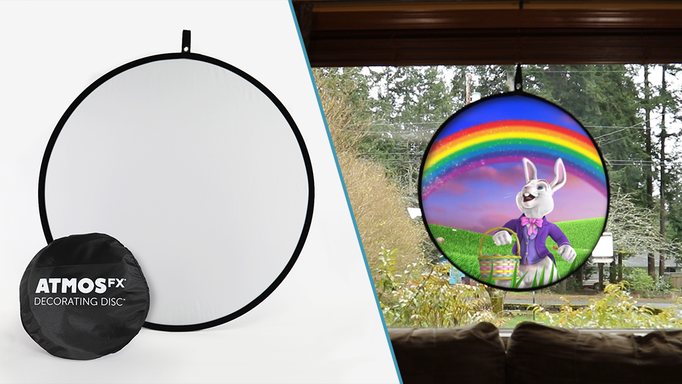
Your first step is to look for AtmosFX Decorations that feature Decorating Disc Mode. This means the decoration is formatted in a circle. However, some decorations have additional effects of falling snow, as well as a slight optical enhancement that makes the projection look more spherical.
What decorations feature these modes? Glad you asked.
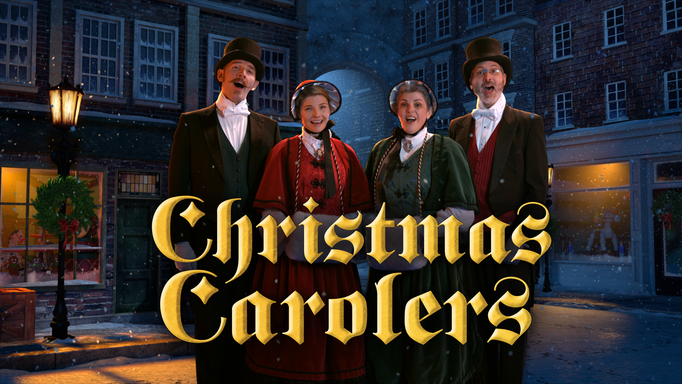
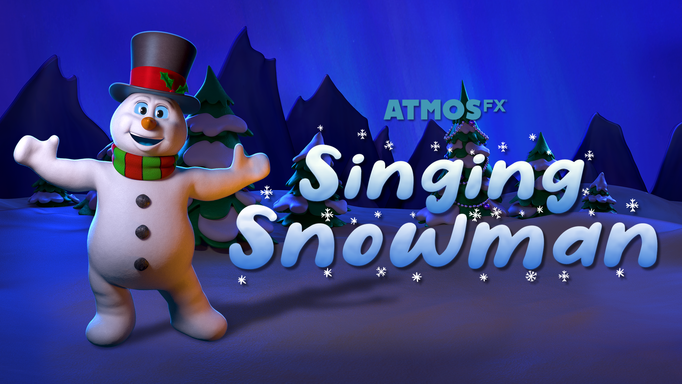
Decorating Disc Mode
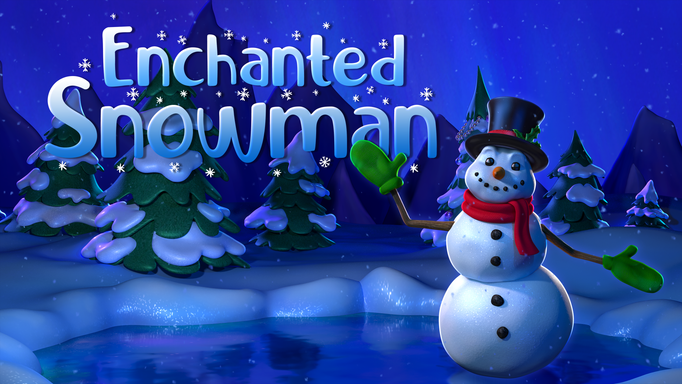
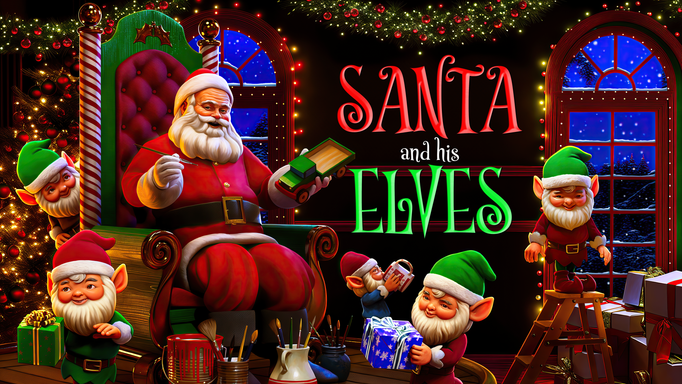
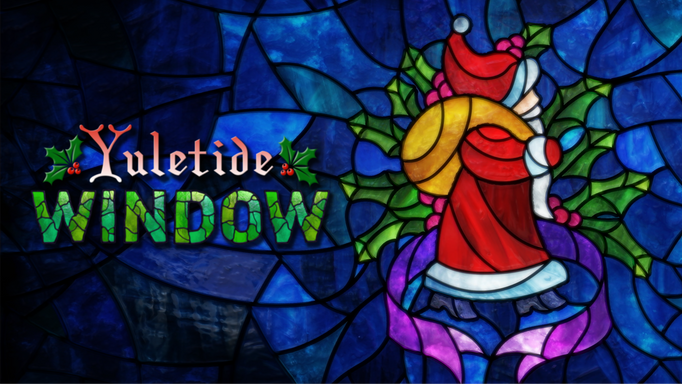
Decorating Disc Mode with ‘Snow Globe’ Effects
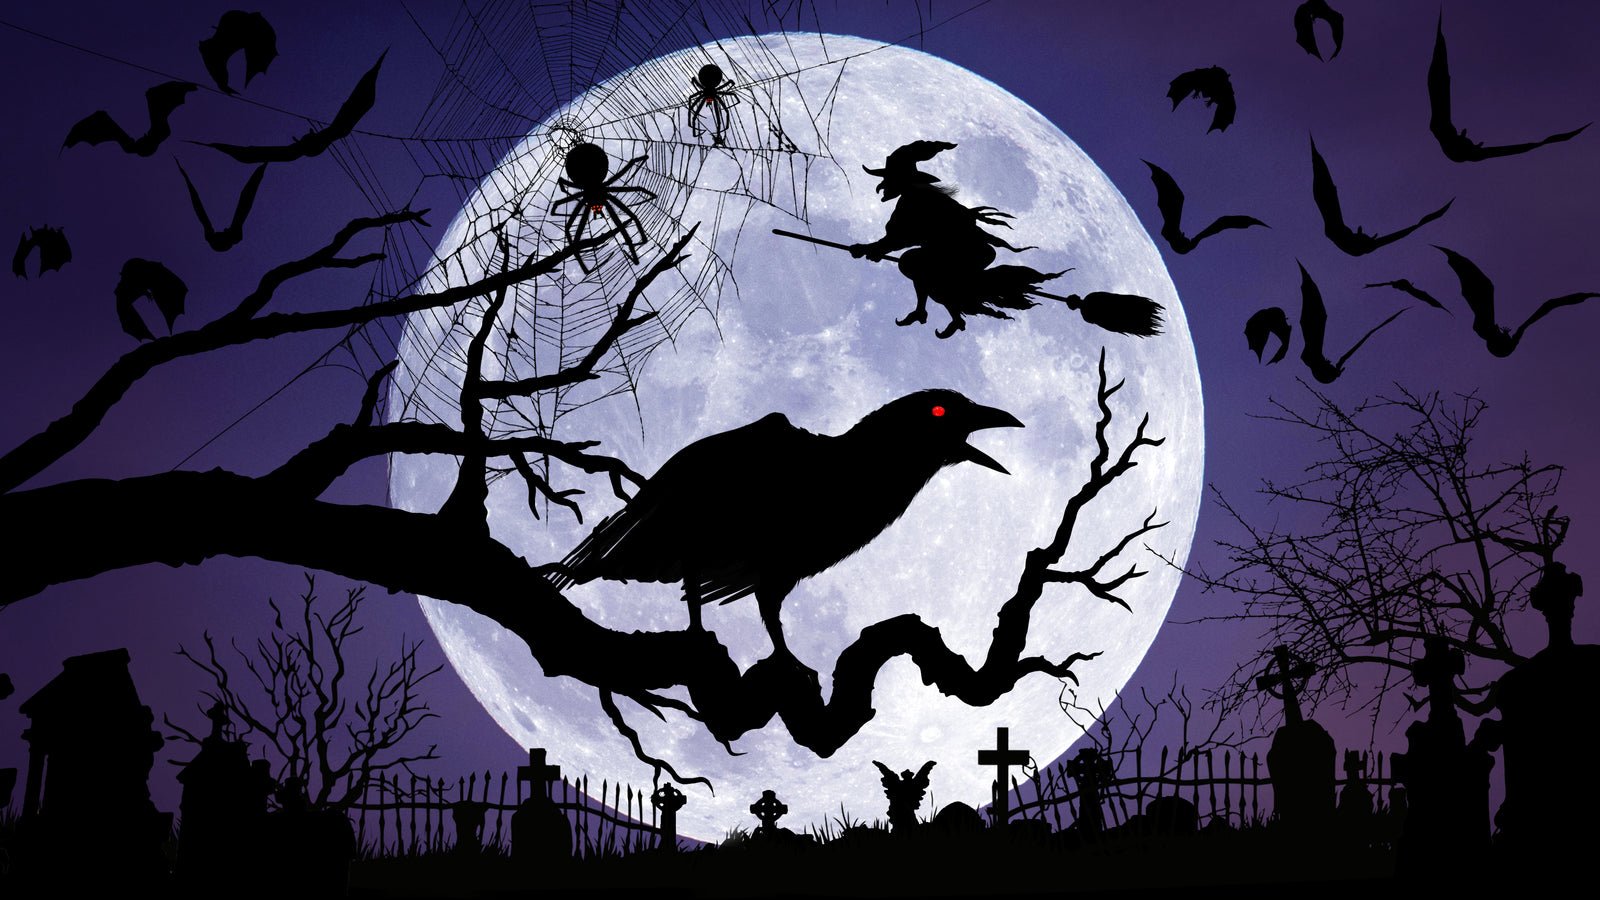
And one more thing! The DIY snow globe you are about to create isn't just a snow globe! During the Halloween season, the snow globe turns into a crystal ball with one easy step: Just call it a crystal ball! Then, you can create more mind-blowing effects for that holiday, too! Here, for example, is one great idea.
Let’s get started! We’ve got step-by-step directions on how to make this DIY snow globe yourself – it’s easy.
Materials Required
- 2 Clear plastic hemispheres
- Liquid super-glue (for plastics)
- Tape
- Scissors
- Hollusion Projection Material or similar
- Styrofoam ring(s)
Steps
Start with placing one of your two plastic hemispheres on a table with the wide, open side facing up. We used 16” diameter spheres but feel free to use a size that’s right for your decoration display. You can find clear plastic hemispheres at most craft stores, or just search the internet.

Cut a square section of Hollusion Projection Material (or similar material) large enough so that it will cover the open sphere and all four corners can be taped to the flat surface you are working on. Taping down the corners allows you to make sure the projection material is spread out evenly across the sphere – eliminating any wrinkles. Wrinkles are not good!

Once you have accomplished this, take your liquid glue (we recommend some kind of super-glue that is specific for use with plastics; make sure it dries clear!) and spread it around the rim of the hemisphere. If you prefer, you can also put the glue on the top of the projection material, entirely around the rim of the other hemisphere. Either way, the glue should soak through the porous material and saturate the other plastic rim.

Next, place the second hemisphere in contact with the initial hemisphere, creating a sphere. Press and hold firmly for a while so that the glue you just used to adhere the material also adheres to the other half of your sphere. We recommend letting this stand for several minutes to ensure it dries completely. Please follow the instructions that come with your glue, but it never hurts to give it extra drying time.
This is a good time to step back and assess your work. If it looks like a ball, then you’re in great shape. Pat yourself on the back and let the glue dry completely. This is a good time for a nap.


Once the two halves are glued together, take your scissors and trim the extra projection material as close to the diameter of the sphere as possible.

Now it’s time to make the base. There are many objects that can act as a base for your snow globe, so let your imagination and creativity run wild. In this example we used styrofoam rings that can be found at most craft stores – we found ours in the aisle that has the artificial flowers. We stacked two rings on top of each other to give it a little height – you can glue the rings together, if you choose.

Now simply place your snow globe in the holder. You will want to adjust the ball so that the Hollusion Projection Material inside is pointed toward your projector. Do not glue the snow globe to the base – you always want to have the option of adjusting the snow globe so that it perfectly picks up the image from the projector. (Oh, and by the way, apologies for the Halloween-themed workshop – we haven’t had time to take down our spooky decorations yet!)

Now you are ready to display decorations onto this unique prop! Pat yourself on the back again, and prepare to answer a lot of questions about how you made this stunning snow globe. If you need to take another nap, go for it – you’ve earned it.

For a list of ALL AtmosFX Decorations that have been optimized for Decorating Disc Mode, click here.